3 FEET AROUND YOUR KITCHEN ISLAND IS ENOUGH AS LONG AS YOU DON’T DO THESE 3 THINGS
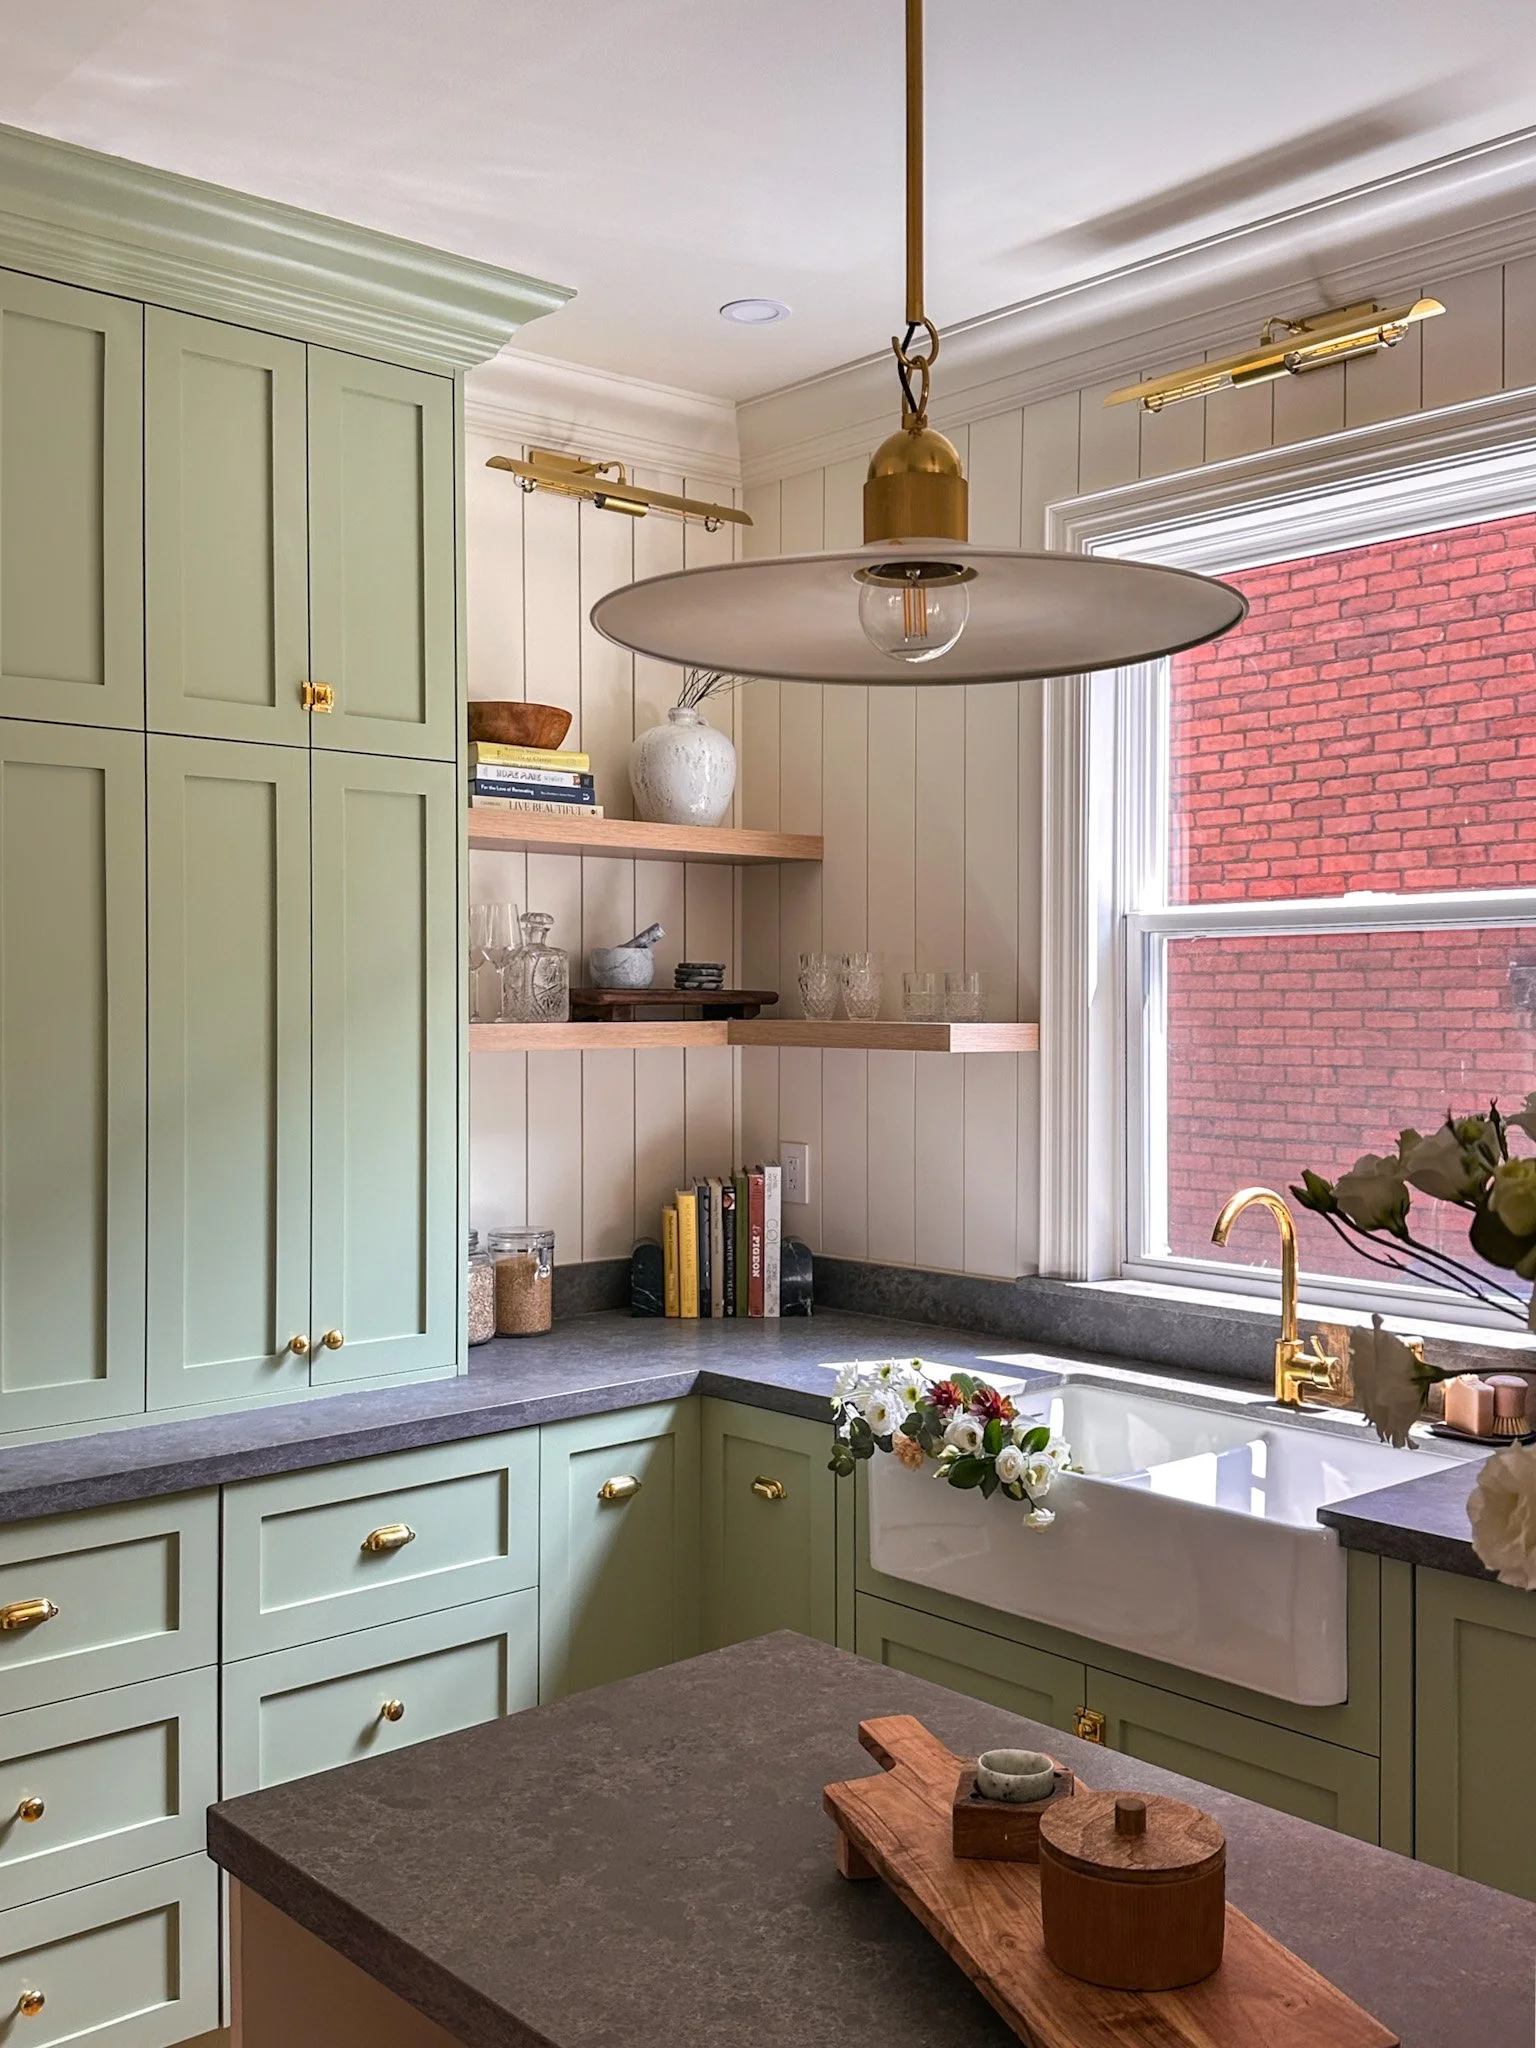
Project Stipley II (East Elevation) - After
To have a kitchen island or to not? That’s the dilemma of so many of us who are dreaming up our kitchen plans. We’ve all heard it before and it’s without a doubt true - the kitchen is the heart of the home. We can probably narrow that down even further and say the kitchen island is the heart of the home. But what if you think you don’t have the space to fit one?
This is how our client’s of Project Stipley II felt. They had this bowling alley of a kitchen that seemed to get trickier to plan out the more you thought about it.
THE CONSTRAINTS WE WERE WORKING WITH
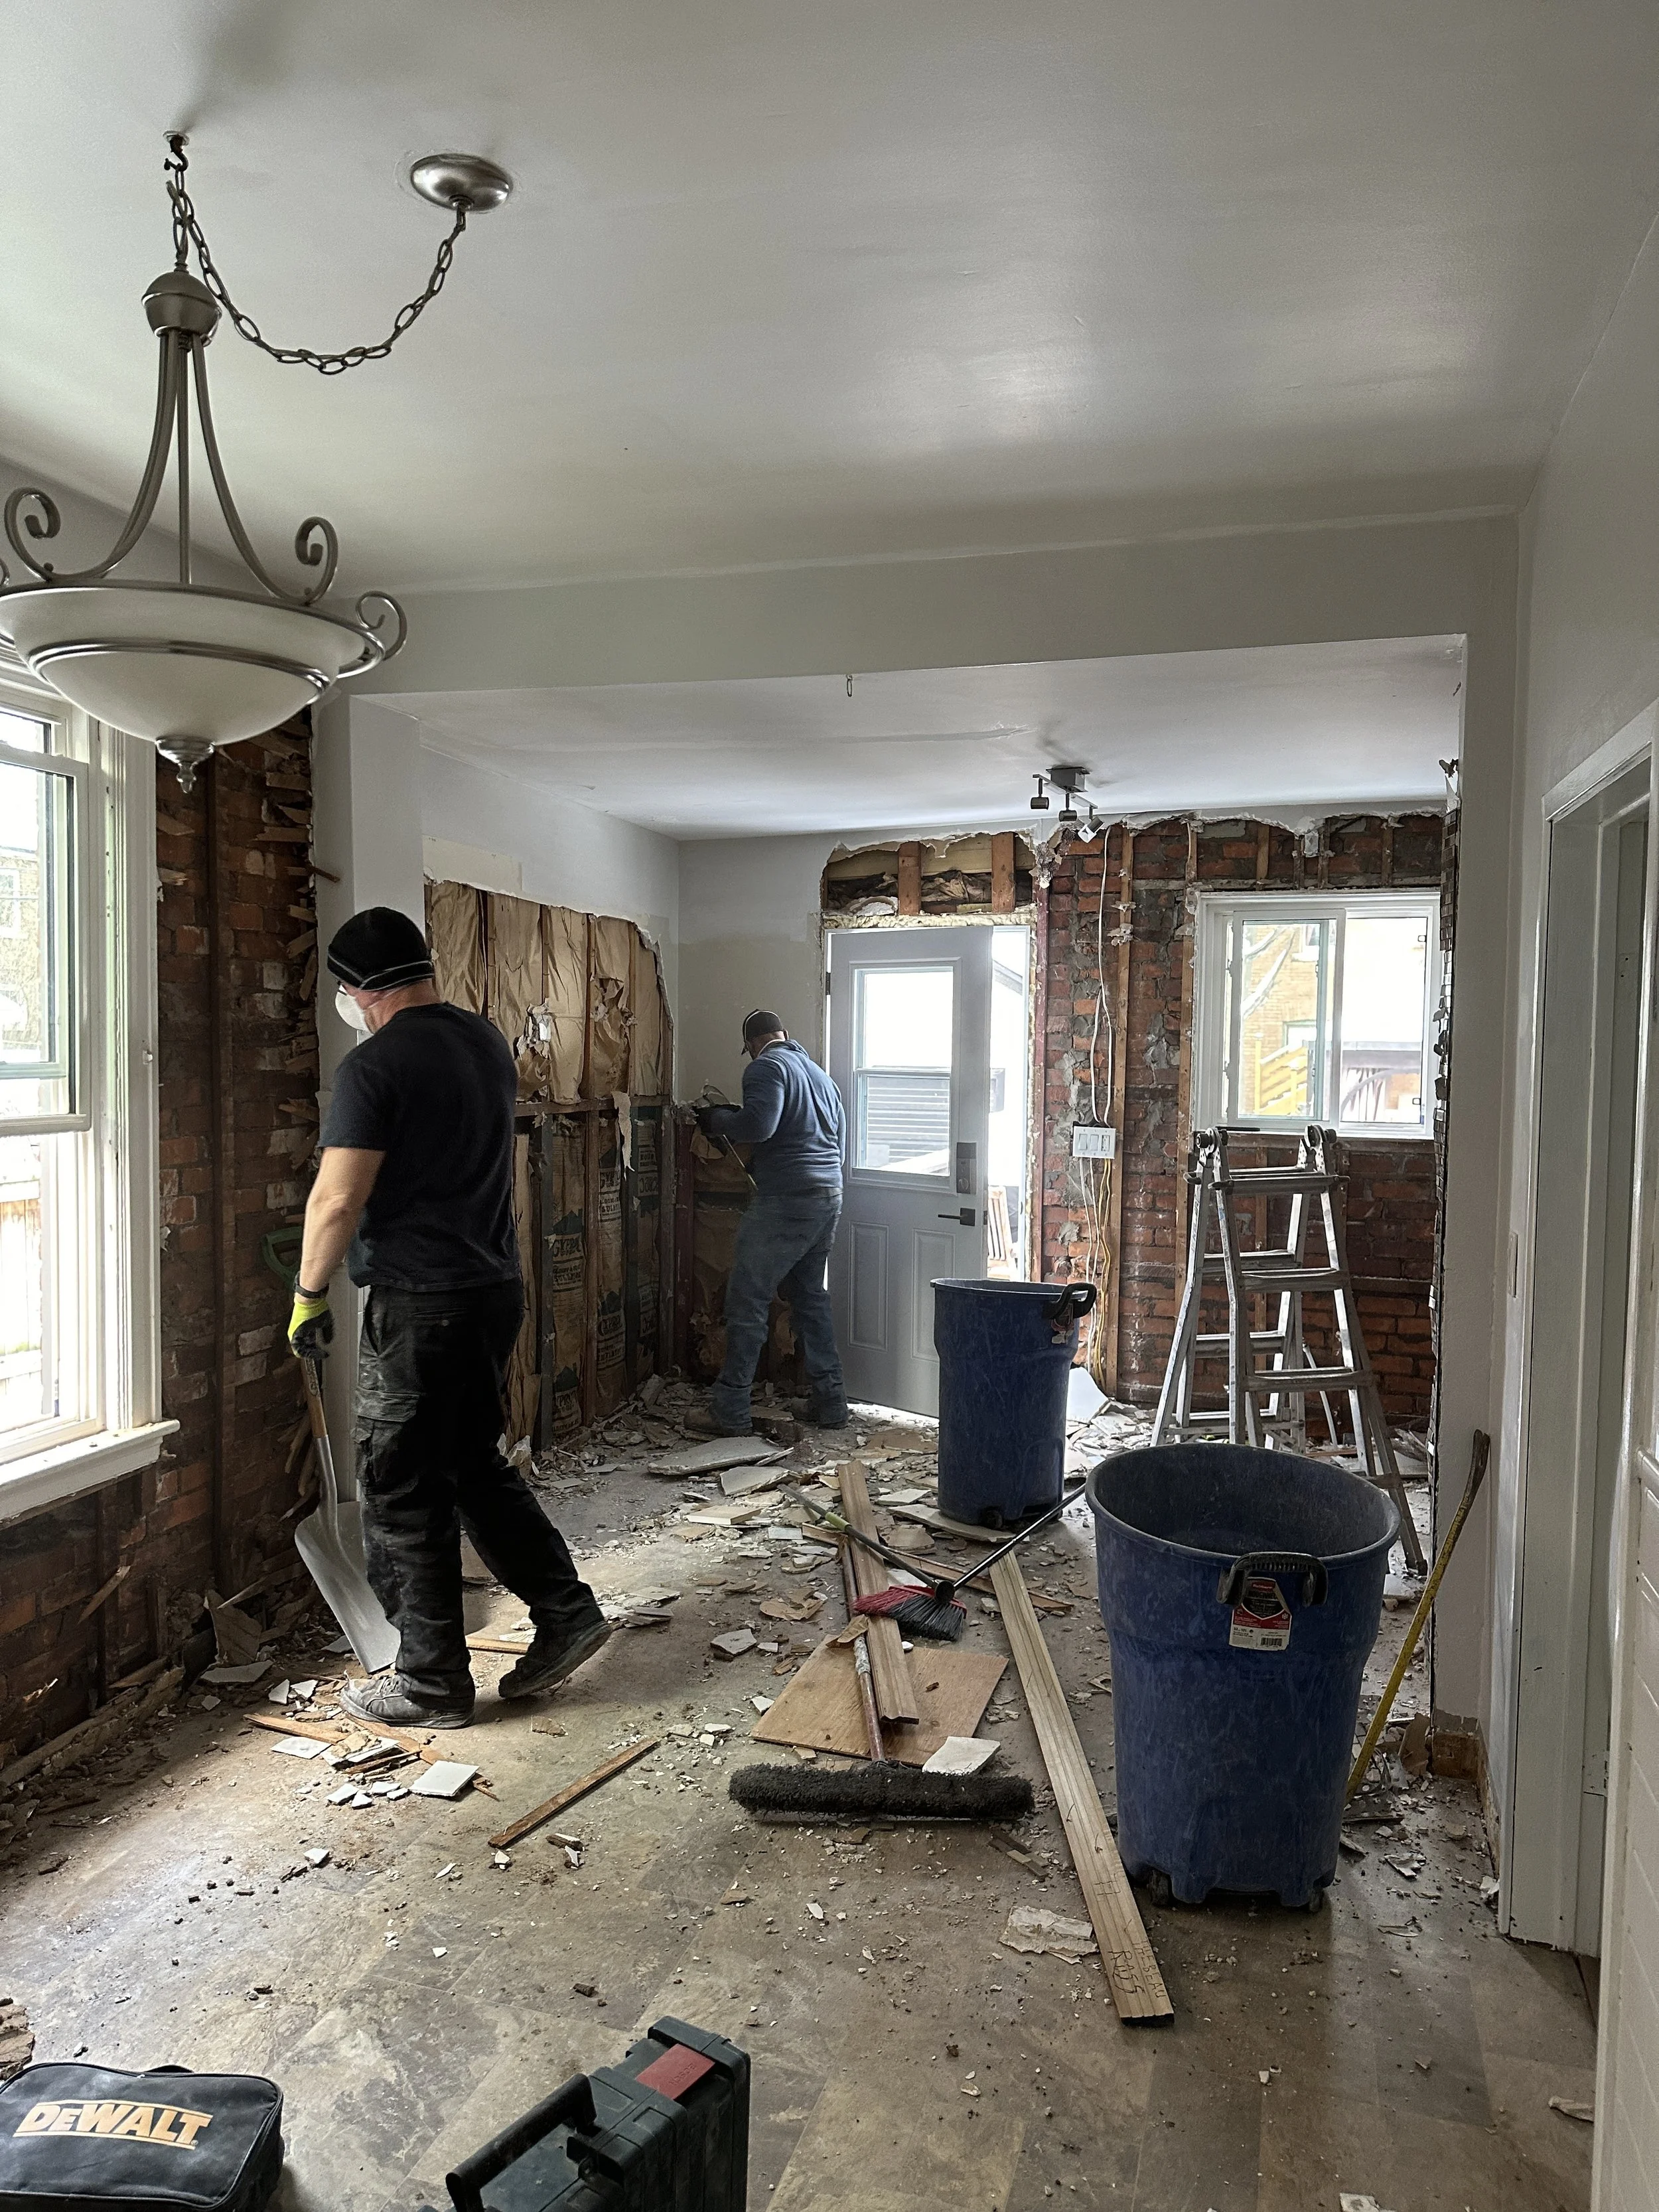
Project Stipley II (East Elevation) - Before
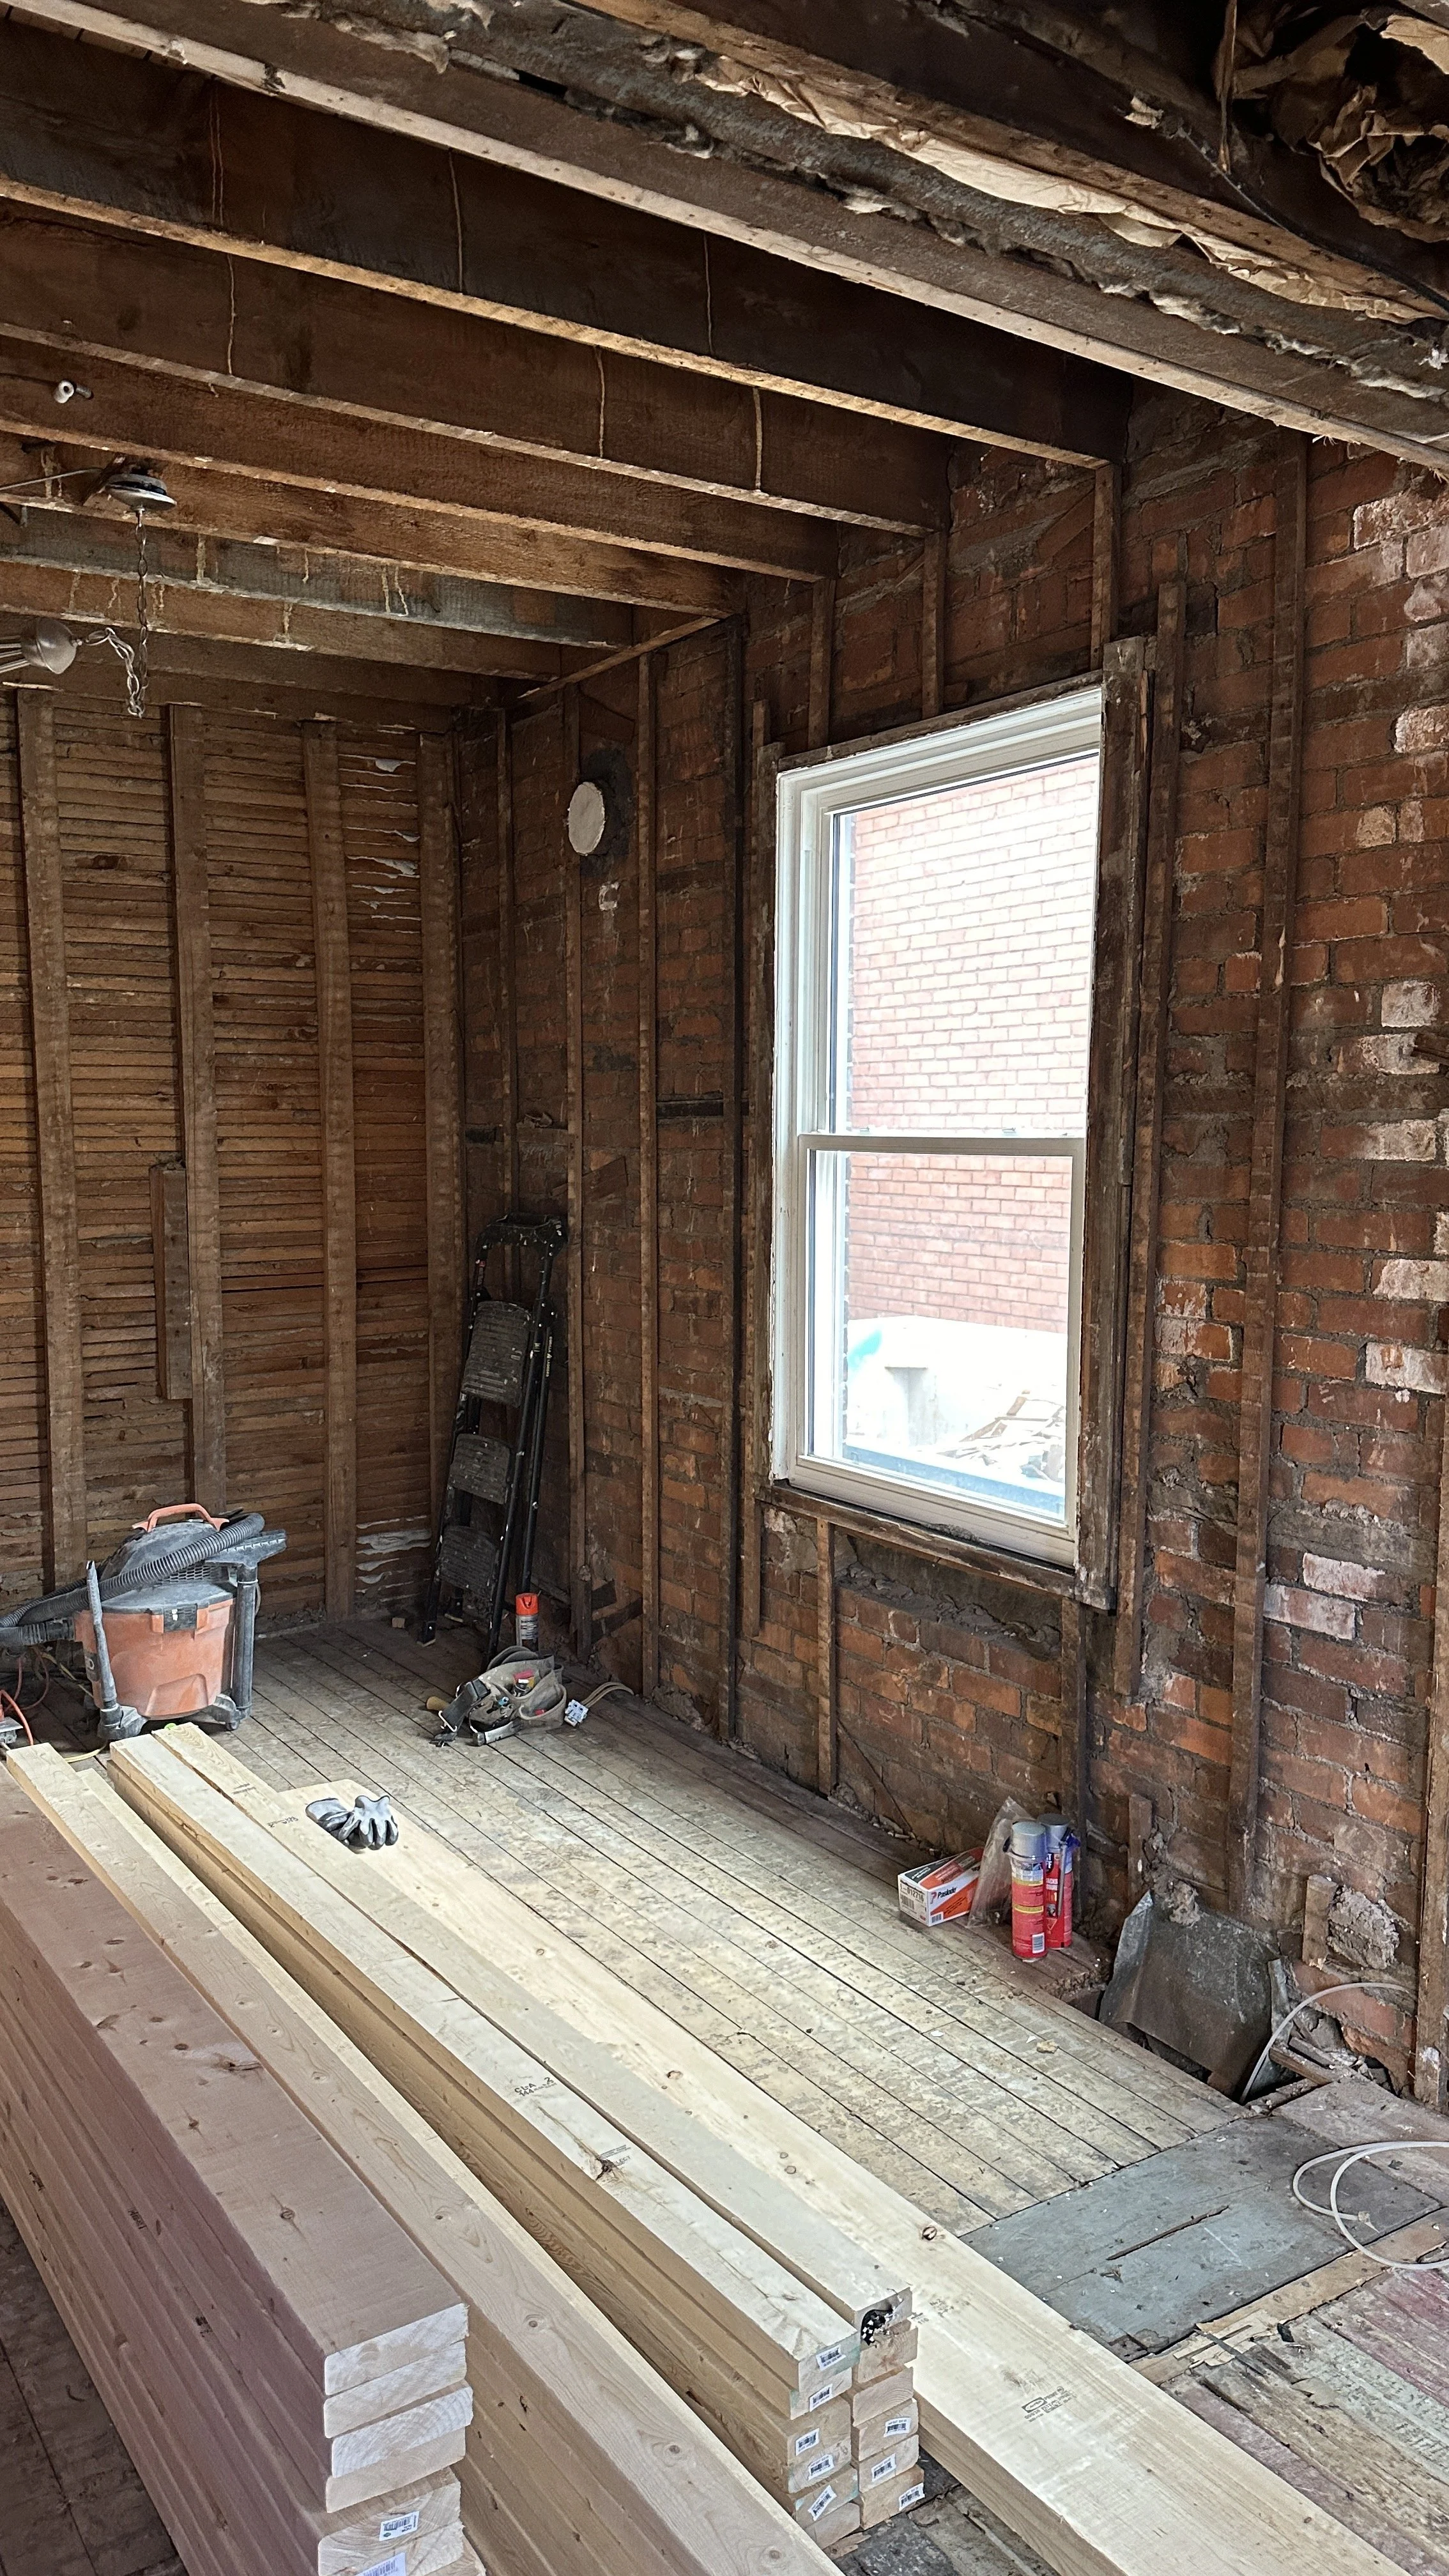
Project Stipley II (West Elevation) - Before
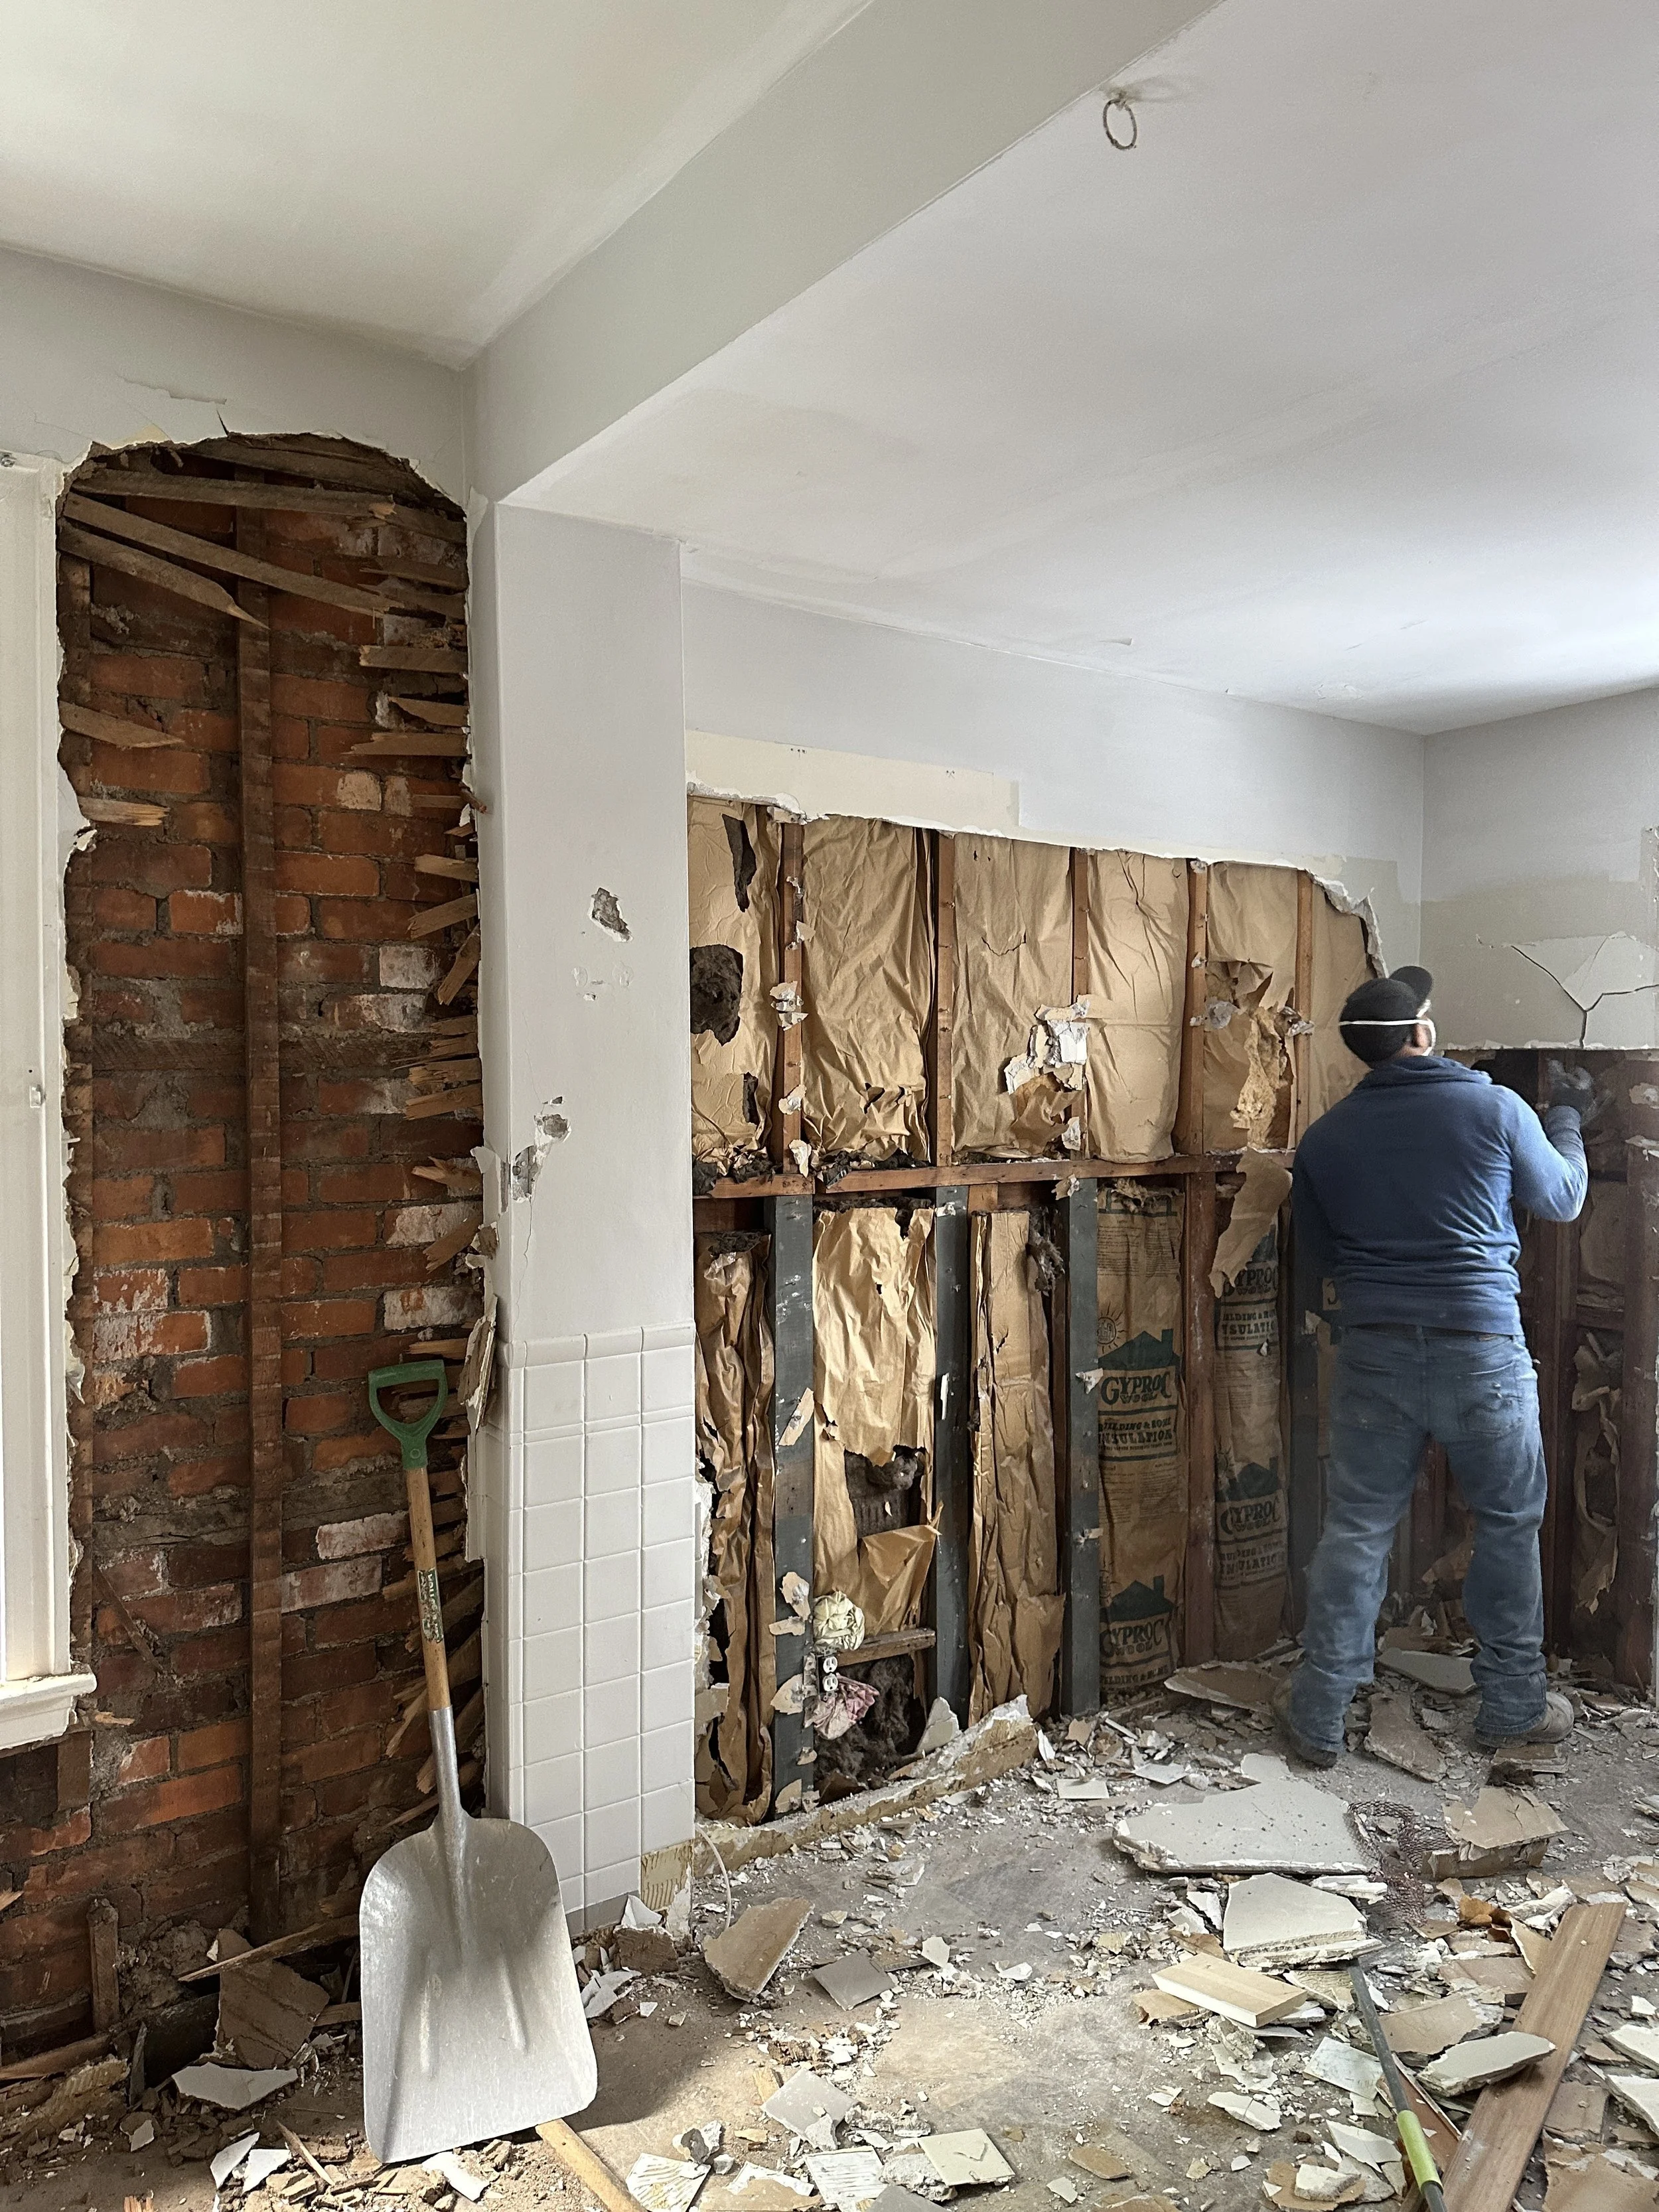
The original layout left almost ⅓ of the kitchen unused. In downtown city living, that amount of untapped square footage hurt my soul. But I understood why, to maximize the kitchen space, one needed to work with what was essentially the combining of 2 rooms that were not built in harmony. In this house we have “the original house”, and the “the addition”. Making things tricky, the 2 rooms had different widths. The original house measured 9 feet wide and the addition measured 12 feet wide. Not only did the rooms have varying widths, but also had 2 different ceiling heights – 9 foot ceilings in “the original house”, and 8 foot ceilings in “the addition”. And finally, the trickiest part of this entire kitchen was that the absolute narrowest part of the kitchen measured only 8 feet wide due to what we had believed to be structural posts that were supporting the opening into “the addition.” With all that being said though, we had a space that was a generous 21 feet long to work with. I rolled up my sleeves and got to planning.
“The Original” house looking towards “the addition”.
Closer Look At One of the Seemingly Structural Bump Outs
OUR CLIENT’S MUST-HAVES
Our clients had a relatively modest ask. Their dream renovation included the following:
Addition of a new powder room
A 36 inch gas range
Ample storage
Seating for 4
I tacked on my own must haves which I knew would be essential to properly maximize their kitchen’s flow.
SIMONE’S MUST HAVES:
Addition of new back patio doors
New window to raise sill height
These 2 items were absolutely integral to the space planning and without allocating funds to these 2 areas, there was no way the space would have felt right.
THE FIRST DRAFT - KITCHEN LAYOUT DESIGN
If you’re not putting the kitchen sink in front of the window then the only other option is the kitchen island.
Rule No. 1 - Don’t Put the Sink In The Island
The first rule of making 3 feet of clearance around your kitchen island functional is to not, and I repeat, do not put your sink in the island if your range is on the opposite wall. The point is to not encourage 2 people working back to back. Not only that, but if you only have 36 inches around your island, the chances are your island is a rather narrow one too, and a narrow island with a sink in it does not mesh well together. Also, personally, I’m not really a fan of having your sink directly across your range in most settings anyways, but that’s another blog post.
With the sink not going in the island, the next logical placement was in front of the window.
Before Raising the Kitchen Window
After Raising the Kitchen Window
Rule No. 2 - Don’t Block The Range
The second rule of making 3 feet of clearance around your kitchen island functional is that 36 inches of clearance in front of your range is not enough, so do not block it with your island if that is all the clearance you have from the perimeter walls.
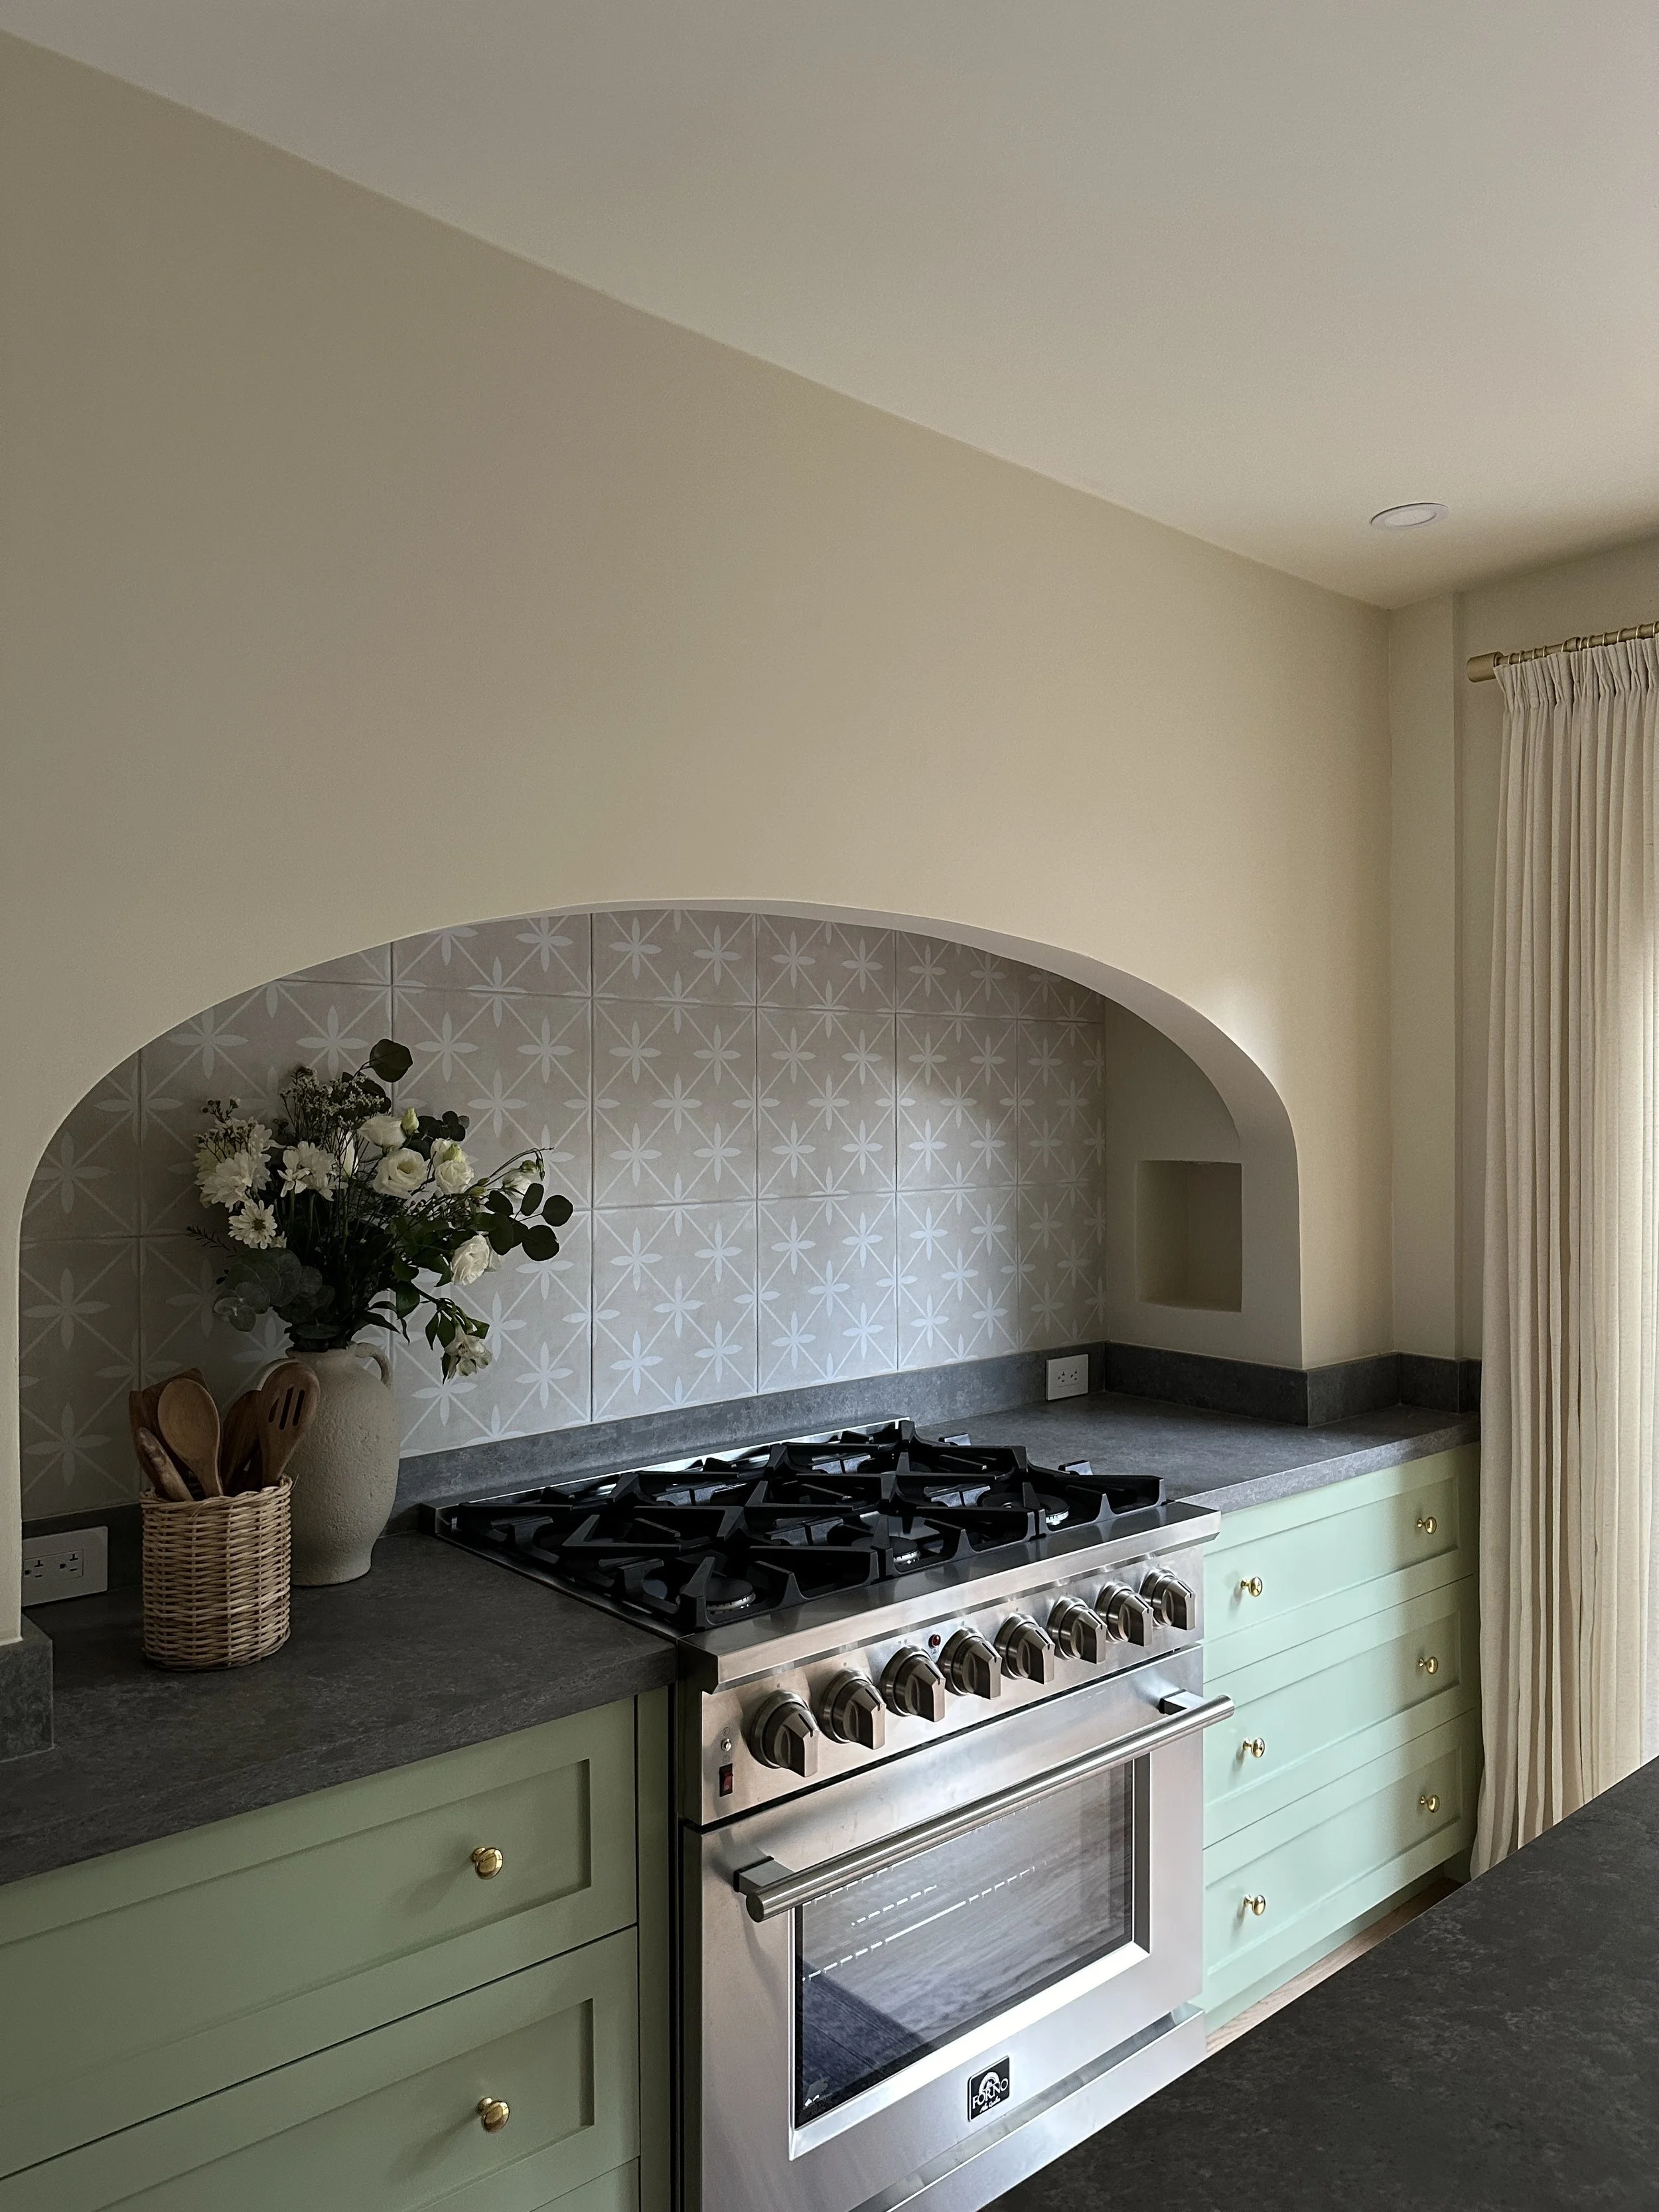
In this kitchen, we had those awkward posts that extruded to support the opening into the addition. This is also where the ceiling height dropped a foot down to 8 feet. We decided this would be a perfect spot to house the range and at the same time, conceal the structural posts with a custom focal point. During demolition we discovered that those awkward bump outs were in fact not structural posts and that we could get rid of them. It’s one of those ideas that was born out of necessity and ultimately became the best part of the design and of course we kept it.
The first draft was a squared range alcove design, which was lovely, but… I was yearning to try out a three-centered arch in a project. We’ve already done a semi-circle arch in our own home, and a segmental arch in Project Durand, so being able to say I’ve done 3 of the most popular architectural arches was something I wanted bragging rights for.
At first, we envisioned a square range alcove with dark green cabinets
We ultimately settled on an arched range alcove with sage green cabinets
We love seeing our visions come to life
Rule No. 3 - Don’t Block The Fridge
With the kitchen sink and range set, we now needed to figure out the location of the fridge. I wrestled with this one a bit, because the answer to where it “ had to go” was obvious, but it was a matter of “is it functional going there?” Because this was “the addition” part of the house which was 2 feet wider, it allowed for 40” between the island and the fridge instead of 36”, but still, I feared there wasn't enough space between the island.
Project Stipley II - North Elevation Plan
This leads me to my third rule of making 3 feet of clearance around your kitchen island functional – don’t block your fridge with your island if you only have 36 inches in front of it. You need adequate clearance to open your fridge doors (especially if it’s a bottom freezer fridge with 1 full width door) and to pull out the freezer. I’d recommend a minimum of 42” of clearance between your fridge and island. We ended up moving the fridge to be between the 2 pantries instead of to the right of both of them, ultimately eliminating the fridge from being blocked by the island altogether. The previous 40” could have been fine, but truly, if you can avoid having it blocked in general, then that’s even better.
Back to my worry of the island being too far from the kitchen sink. After creating a Pinterest Board and organizing inspiration images for this project I remembered Athena Calderone’s brooklyn brownstone where her fridge was much further away, and ultimately that worry subsided completely.
The Kitchen Island Itself
Measuring 26 inches in width, the island is close to the recommended minimum of only 24 inches. The kitchen is not open to either the dining room or living room, making seating in the kitchen a priority for our couple. To achieve this we opted for custom shallow depth drawers of 12 inches with a 14 inch overhang. If you’re wondering “what can possibly fit in 12 inch drawers?”, the answer is – a lot! For context, upper cabinets are usually 12-15 inches deep and provide very functional storage. Also, opting for drawers instead of shelves made these cabinets very accessible. To maintain clearance around the island, we made sure that any stools we purchased would tuck completely under the countertop overhang when not in use.
The counter stools completely tuck under the island
FINAL PLANS - KITCHEN LAYOUT DESIGN
After some minor revisions we had finalized this kitchen renovation. We carved out 30 inches for a powder room and added a “counter-pantry” cabinet on the shared wall which helped with further separating the powder room from the kitchen.
The “counter pantry” cabinet providing tons of extra storage and needed separation from the powder room. Our client refinished this 100 year old door herself!
The addition of a 6 foot wide set of french patio doors, now opened up the kitchen to the backyard, allowing for amazing flow.
And our clients now have their dream kitchen with ample storage and seating for 4.


